
Hello
This was carried out a little while ago now but such is my workload at the moment that I'm only just getting round to putting it online properly.
Despite already being in good condition we started with our usual safe wash process to make sure it was completely free of dirt and contamination ready for polishing.
The key to a safe wash that will keep your car free from swirls for as long as possible is a good pre wash. We apply a pH neutral foam to a dry car and let it dwell a few minutes. This will start to soften dirt particles without stripping off expensive wax layers. If you cant fit a foam bottle to your pressure washer then this Foam Gun is very good and works on mains pressure.


Dont let the foam dry. Its best to work on a cloudy day or in the shade or if you have no option just make sure you keep spraying the foam to keep in wet while it has a couple of minutes to work.
Then pressure rinse the dirt off the car working methodically about 1.5-2ft away from the car. Remember you are not just wanting to rinse the foam off from a distance but actually trying to get as much dirt off the car.
Stuart here rinsing the lower sections.

If the car is filthy we often carry out the foam and rinse stage twice to ensure as much dirt is off the car before touching with a wash mitt.
Next we recommend using a shampoo bucket and a rinse bucket. After shampooing each small section with Meguairs Shampoo Plus and a Meguairs MF Wash Mit scrub the wash mit in the rinse bucket before picking up more shampoo. This keeps the dirt in the rinse bucket and the shampoo bucket water clean. You will be surprised at how dirty the water from the rinse bucket is when you throw it away compared to the shampoo bucket. This stops you putting all the dirt back on the car each time you collect more shampoo.


Then use a good thick drying towel to carefully dry the car after the shampoo is rinsed.
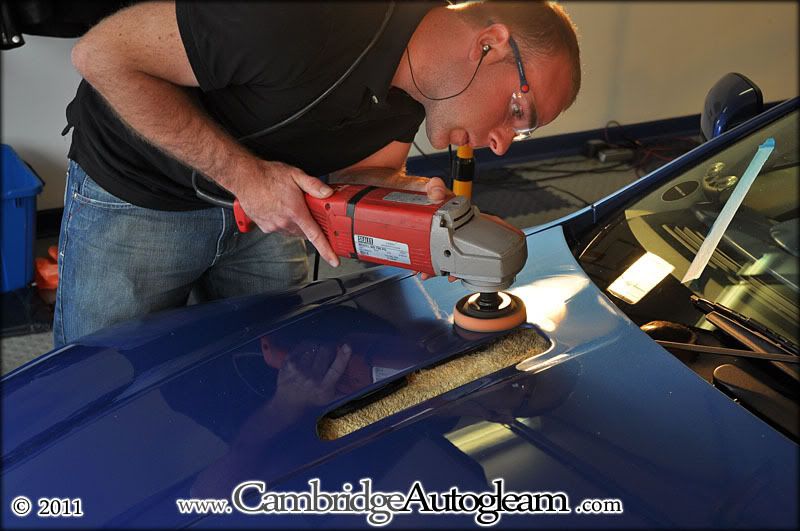
Anyway... once all this was carried out the car was put back in the garage. Any vents and trim that could easily be removed were removed to aid polishing. The paint depth was carefully measured and paint checked under halogen lights to assess the amount of defects. Again thanks to the owners careful wash regiem, swirls were to a minimum for a car of this age and even the usual aston martin DA sanding marks were few and far between.
Before correction on the bonnet

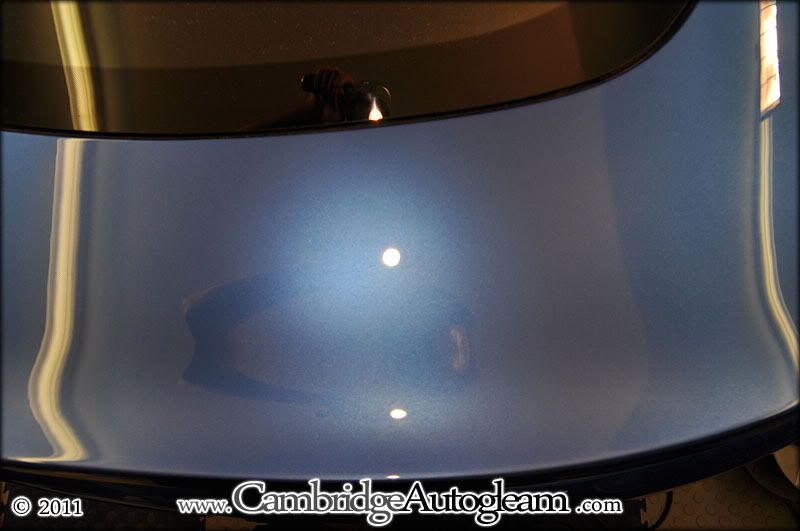
After correction

Some during and after polishing clickable thumbnail photos


Before

After

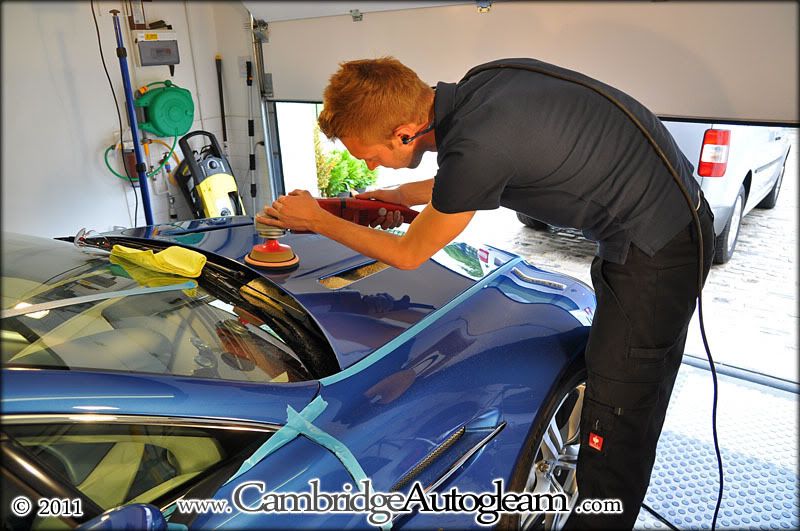
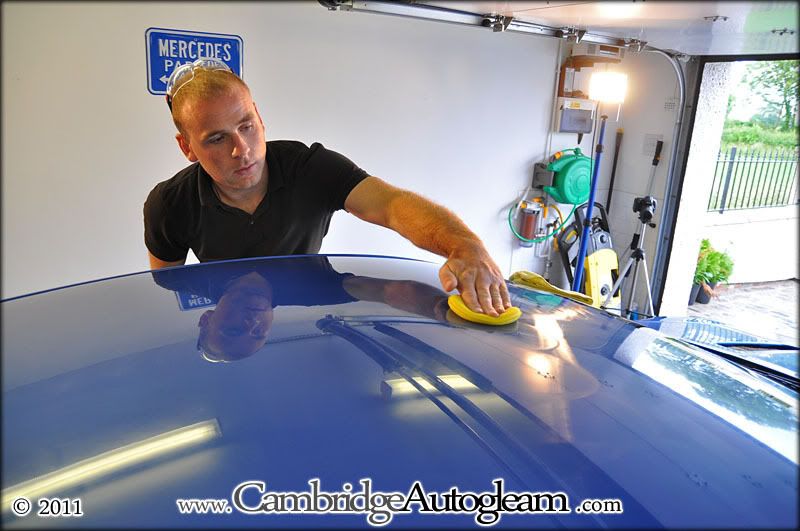
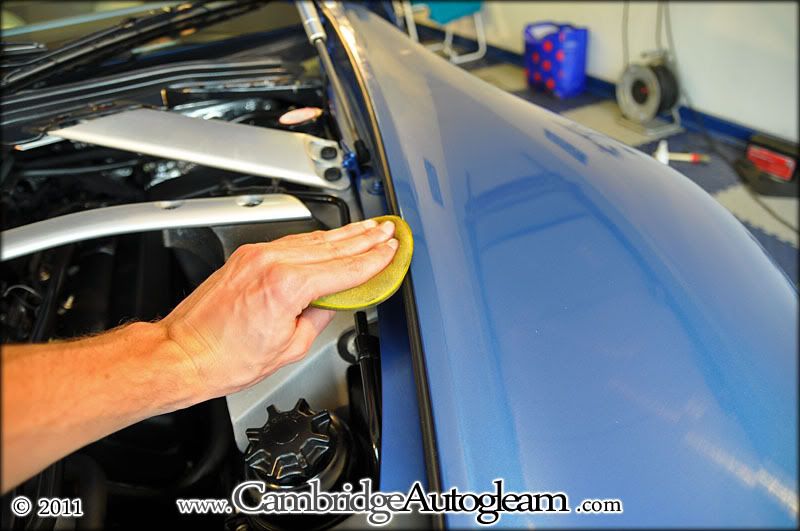
The polishing work took approx 12-14 working hours to complete. After this the owner requested 2 coats of our Zymol Vintage wax be applied to protect the paint and give it a deep rich shine.

Stuart applying the 1st layer of wax

Applying dressing to the black plastics, rubbers and tyres


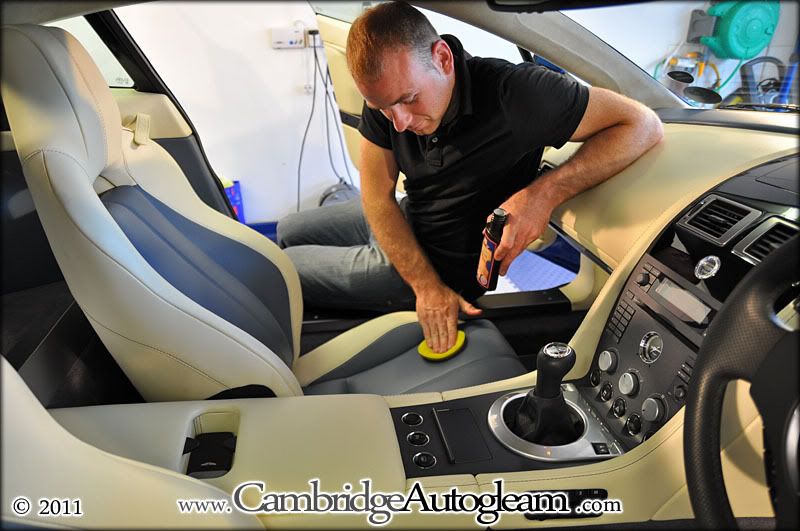
Treating the leather with Gliptone Liquid Leather

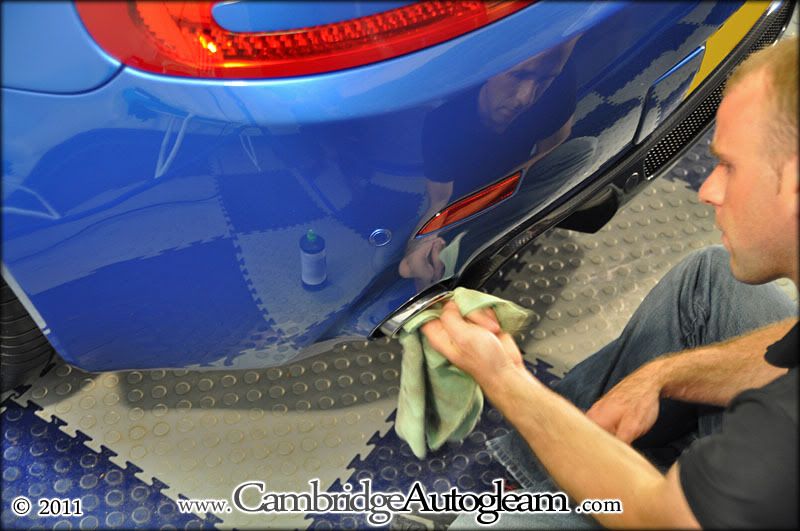
Polishing and sealing the exhaust tips

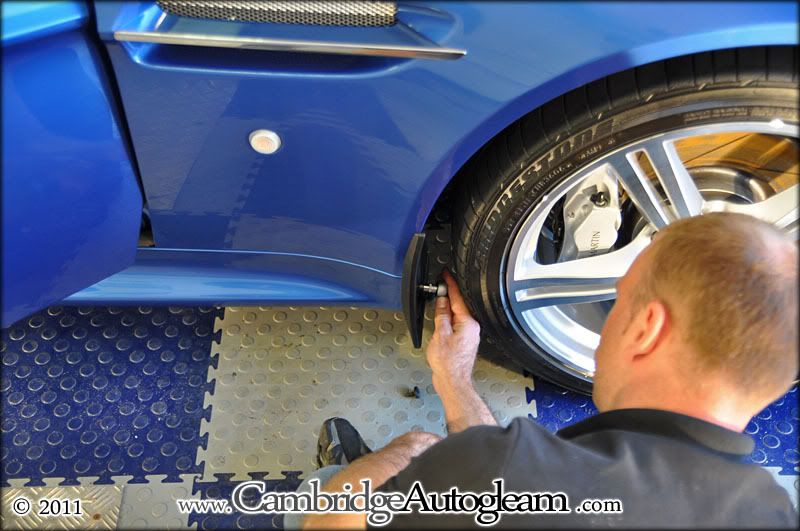
Re attaching parts that were removed to aid polishing

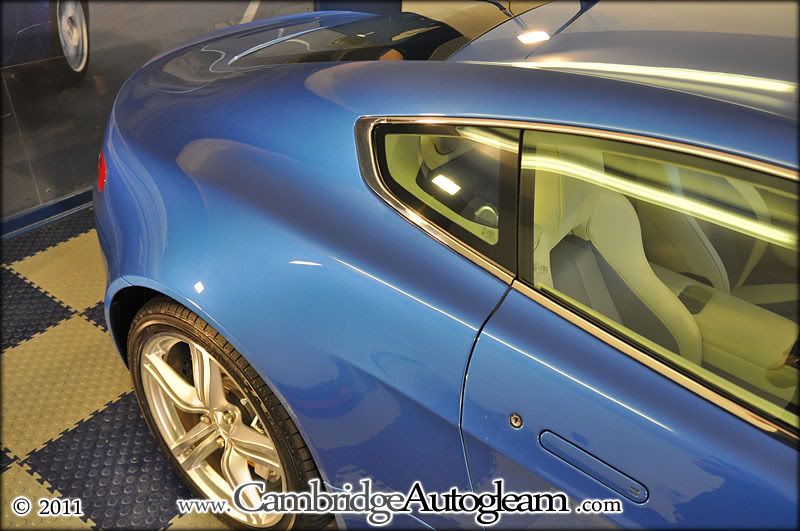
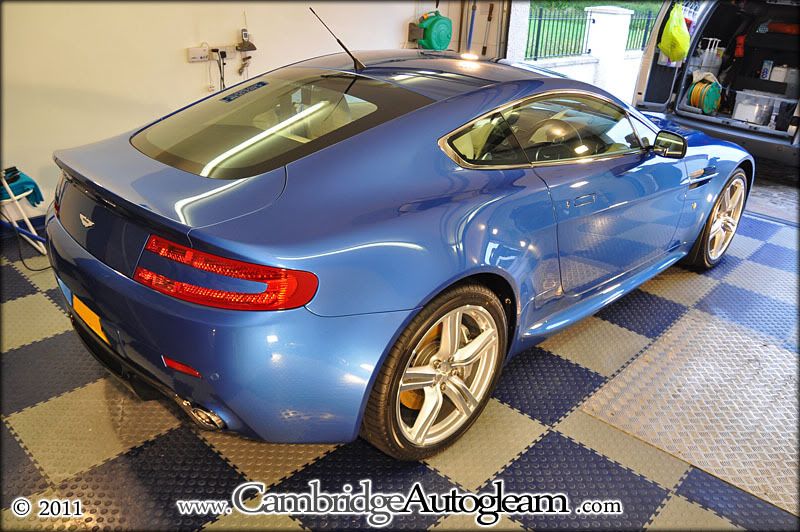
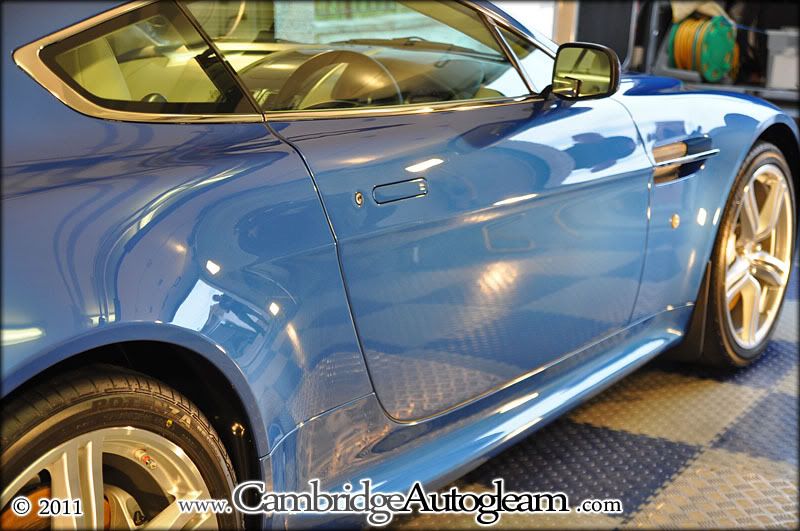
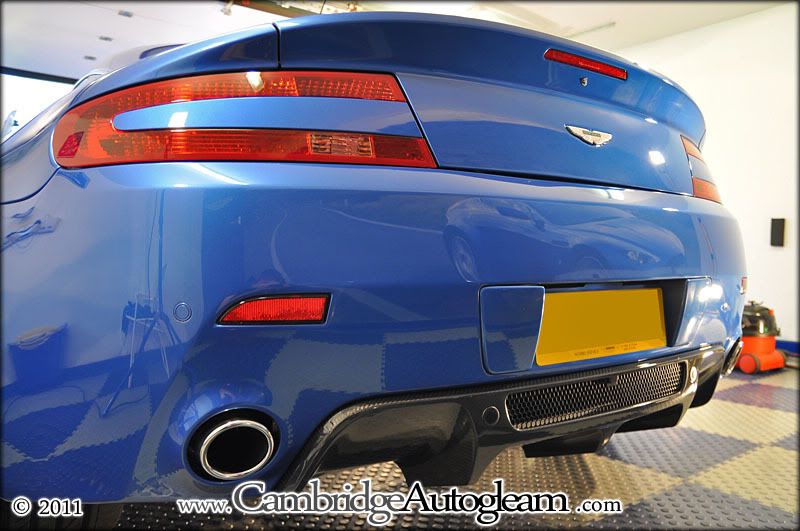
And now a few photos of the finished car.


Thank you for looking.
Any questions on the wash process please feel free to ask here.
Dont forget to follow us on or
or  .
.
Nathan
This was carried out a little while ago now but such is my workload at the moment that I'm only just getting round to putting it online properly.
Despite already being in good condition we started with our usual safe wash process to make sure it was completely free of dirt and contamination ready for polishing.
The key to a safe wash that will keep your car free from swirls for as long as possible is a good pre wash. We apply a pH neutral foam to a dry car and let it dwell a few minutes. This will start to soften dirt particles without stripping off expensive wax layers. If you cant fit a foam bottle to your pressure washer then this Foam Gun is very good and works on mains pressure.
Dont let the foam dry. Its best to work on a cloudy day or in the shade or if you have no option just make sure you keep spraying the foam to keep in wet while it has a couple of minutes to work.
Then pressure rinse the dirt off the car working methodically about 1.5-2ft away from the car. Remember you are not just wanting to rinse the foam off from a distance but actually trying to get as much dirt off the car.
Stuart here rinsing the lower sections.
If the car is filthy we often carry out the foam and rinse stage twice to ensure as much dirt is off the car before touching with a wash mitt.
Next we recommend using a shampoo bucket and a rinse bucket. After shampooing each small section with Meguairs Shampoo Plus and a Meguairs MF Wash Mit scrub the wash mit in the rinse bucket before picking up more shampoo. This keeps the dirt in the rinse bucket and the shampoo bucket water clean. You will be surprised at how dirty the water from the rinse bucket is when you throw it away compared to the shampoo bucket. This stops you putting all the dirt back on the car each time you collect more shampoo.
Then use a good thick drying towel to carefully dry the car after the shampoo is rinsed.
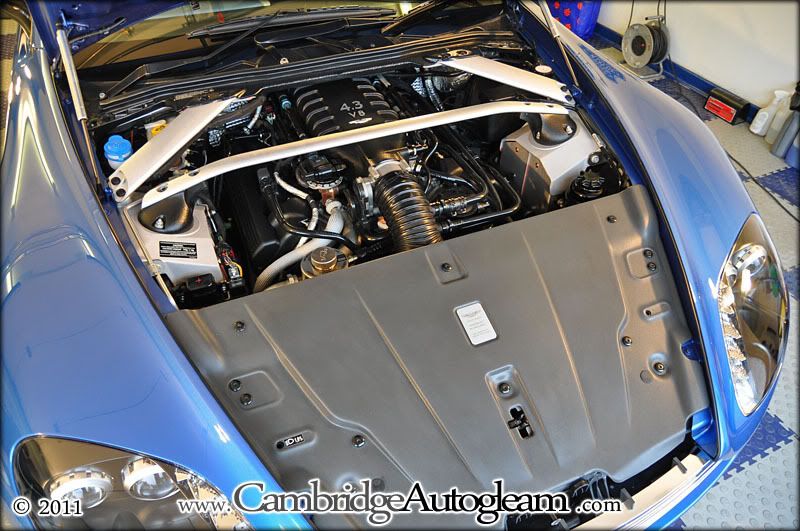
Anyway... once all this was carried out the car was put back in the garage. Any vents and trim that could easily be removed were removed to aid polishing. The paint depth was carefully measured and paint checked under halogen lights to assess the amount of defects. Again thanks to the owners careful wash regiem, swirls were to a minimum for a car of this age and even the usual aston martin DA sanding marks were few and far between.
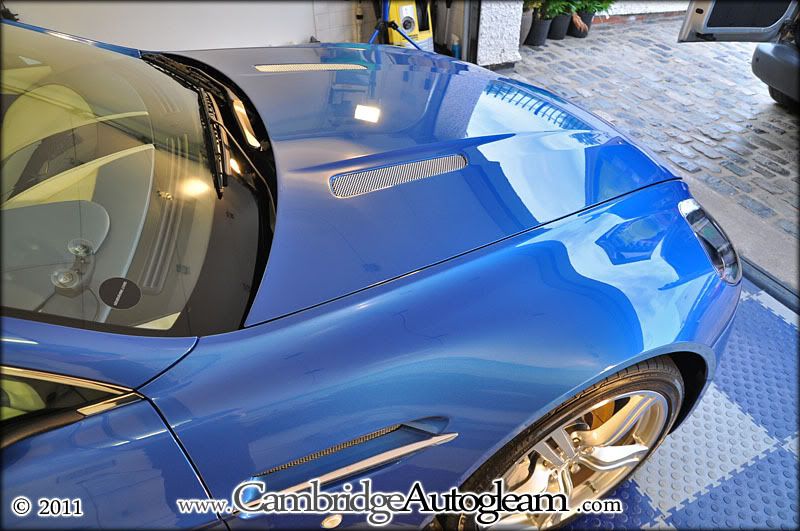
Before correction on the bonnet
After correction
Some during and after polishing clickable thumbnail photos

Before
After
The polishing work took approx 12-14 working hours to complete. After this the owner requested 2 coats of our Zymol Vintage wax be applied to protect the paint and give it a deep rich shine.
Stuart applying the 1st layer of wax
Applying dressing to the black plastics, rubbers and tyres

Treating the leather with Gliptone Liquid Leather
Polishing and sealing the exhaust tips
Re attaching parts that were removed to aid polishing
And now a few photos of the finished car.


Thank you for looking.
Any questions on the wash process please feel free to ask here.
Dont forget to follow us on
or .Nathan
Last edited:
